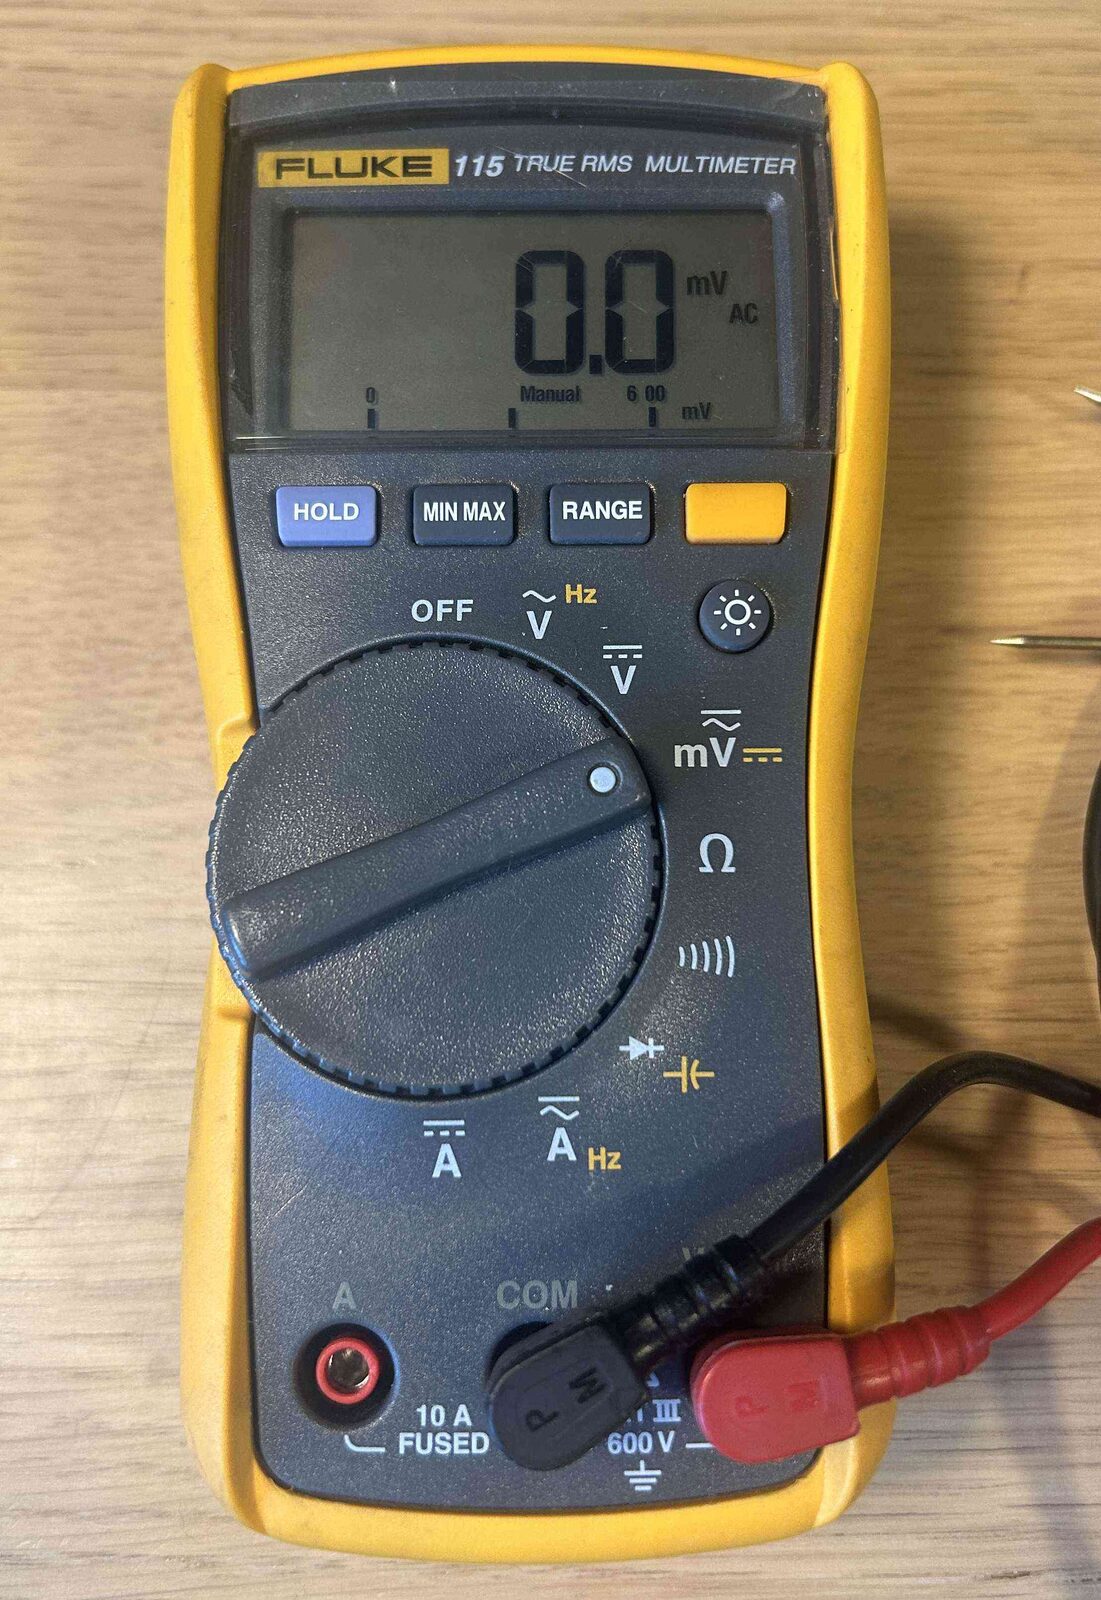
Fluke 115 Multimeter Repair
In short: The display showed nearly the same garbage on every setting, and later the continuity buzzer was dead. The cause was corroded plated through-holes (vias) that broke two connections on the PCB. Both were fixed with solder and a small bodge wire.
This post is about repairing a Fluke 115 multimeter that had stopped working. As with many of my repairs, this was a device I bought broken and brought back to life. The fix turned out to be fairly simple, which made it a great deal - and meant I could finally replace my cheaper multimeter. The 115 isn't one of Fluke's top-tier models, but it's still a solid step up from what I had before.
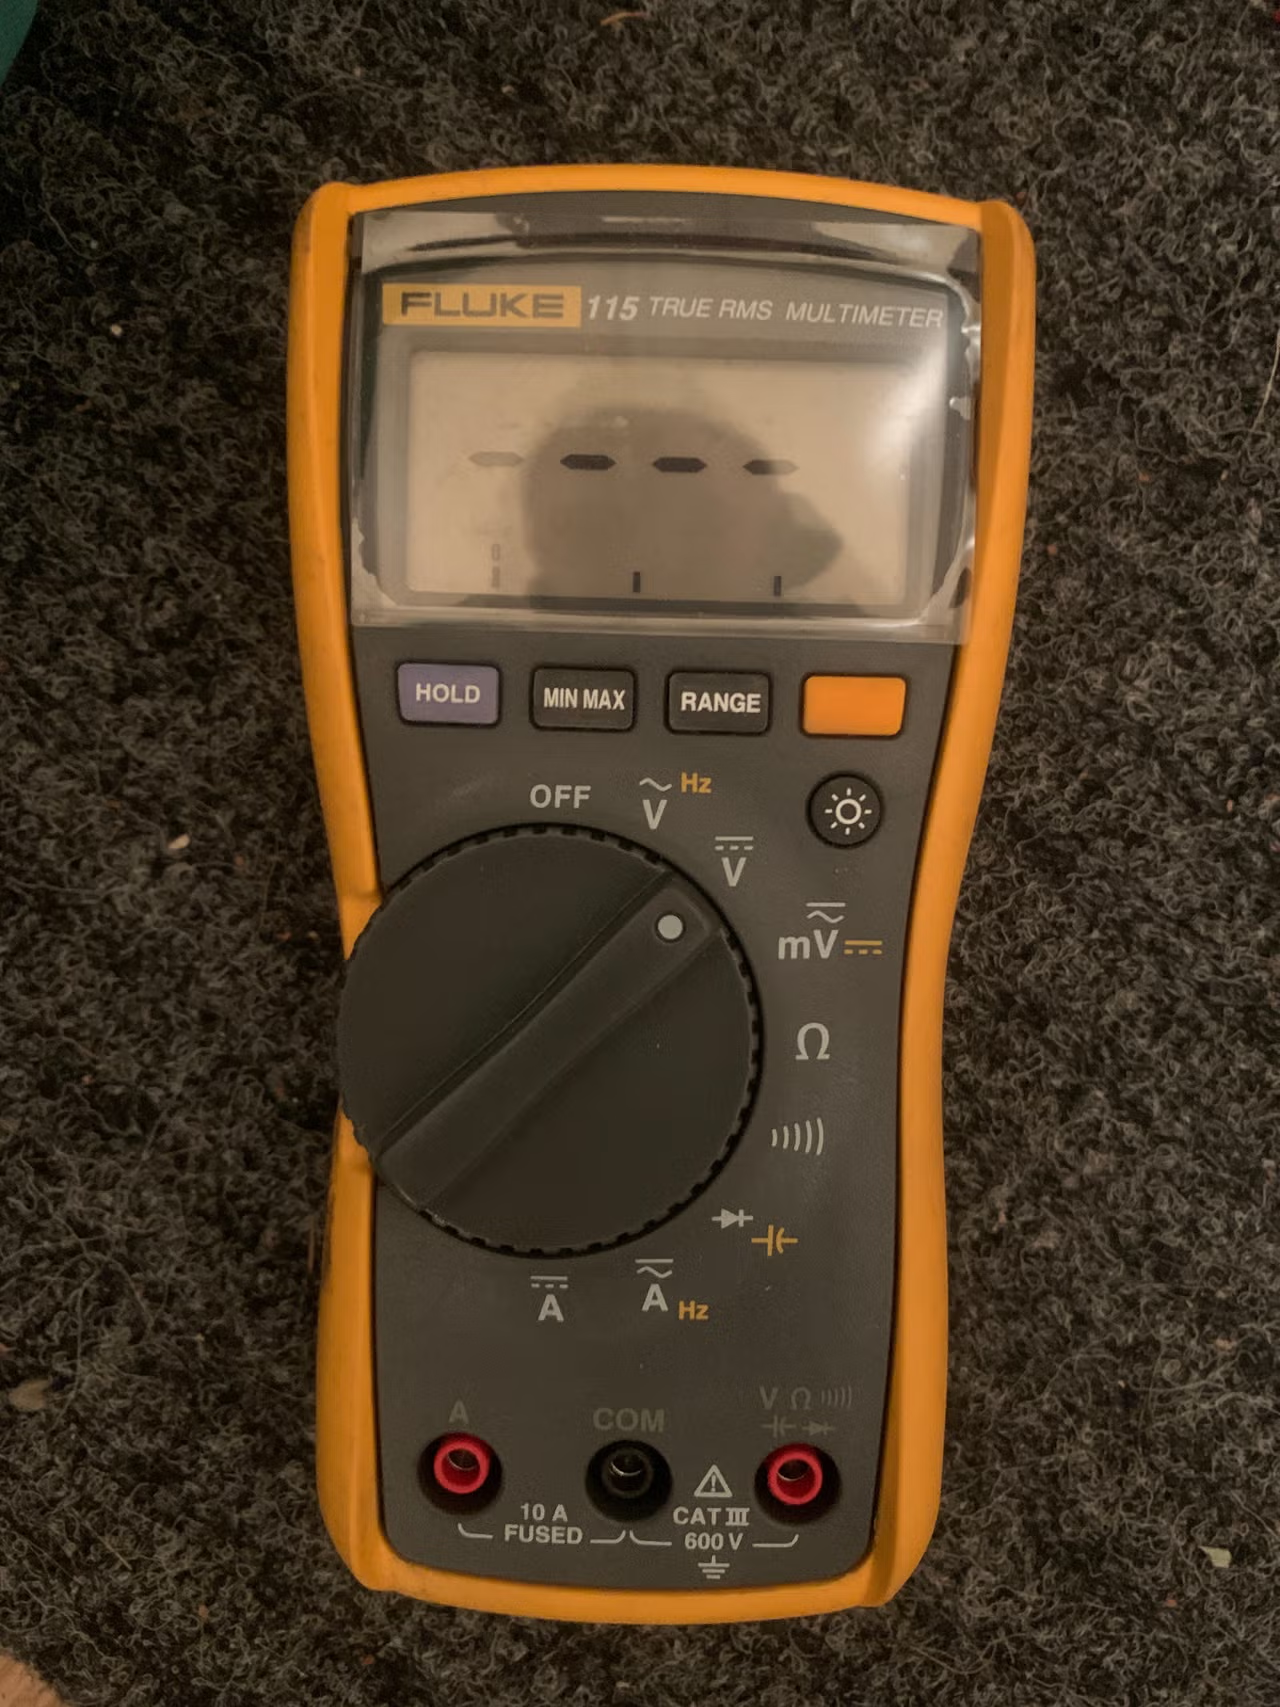
When I first powered it on, the multimeter did react when turning the selector wheel, and the screen displayed something, but it behaved very strangely. Most settings gave nearly the same output as in the picture above, and none of the functions worked as they should.
Finding the fault
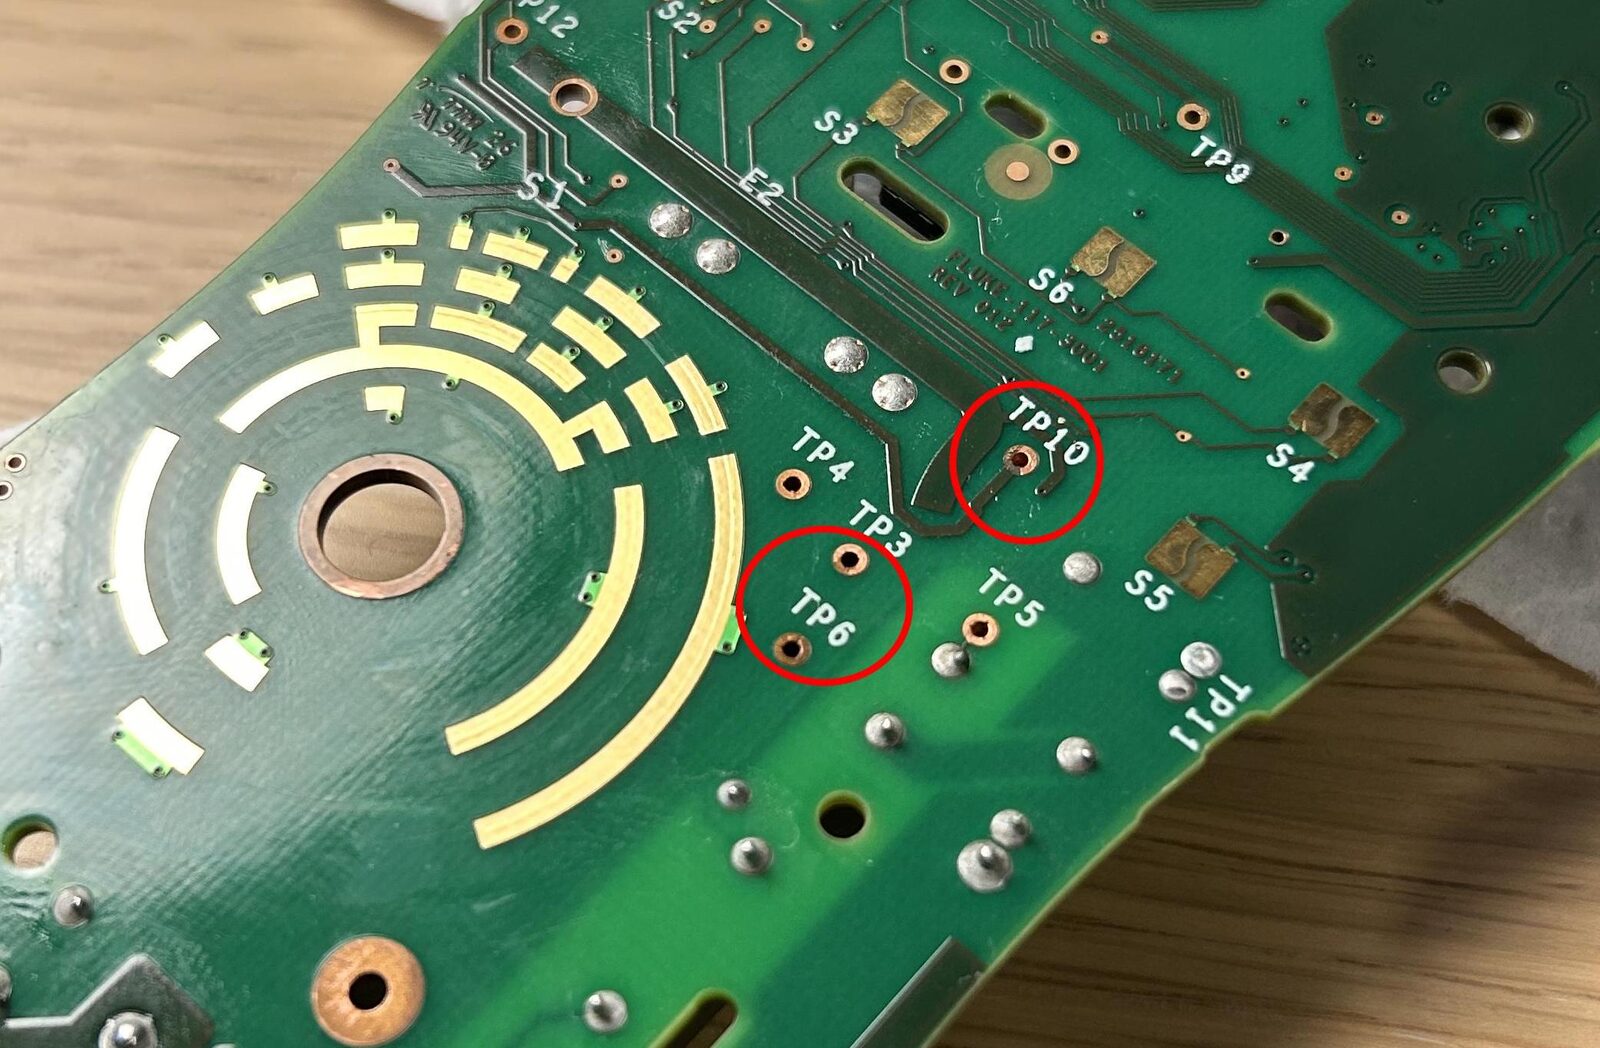
After opening the device and inspecting the PCB, I found the likely culprit. Several plated through-holes labeled as test points were damaged, with the copper completely gone. It looked a lot like acid damage, but oddly there were no signs of leakage from the battery, and these test points were nowhere near the battery compartment. After some probing with my (other) multimeter, I confirmed there was a break around TP10, where a trace connects to one of the damaged vias. On the opposite side of the board that same trace connects to one of the contact pads used by the selector wheel, making this a very plausible reason for the strange behavior.
Fixing it
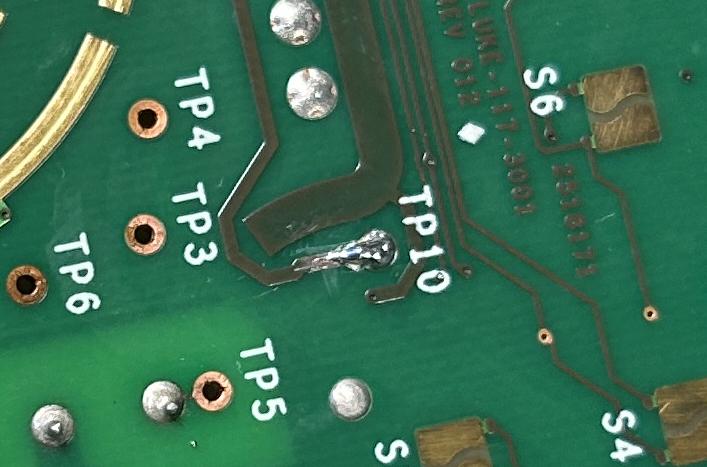
To fix it, I scraped away the solder mask on the affected trace and added solder to reconnect it to the through-hole. Looking at the repair in hindsight, it's not the prettiest thing I've ever soldered - but the important part is that the trace is restored, both to the via and to the corresponding trace on the other side of the PCB.
After reassembling the multimeter, it powered on and most functions worked as expected. The only thing still broken was the continuity buzzer. So, back inside it went. After desoldering the buzzer, the problem was obvious: another damaged via with the copper plating missing, very similar to the first failure.
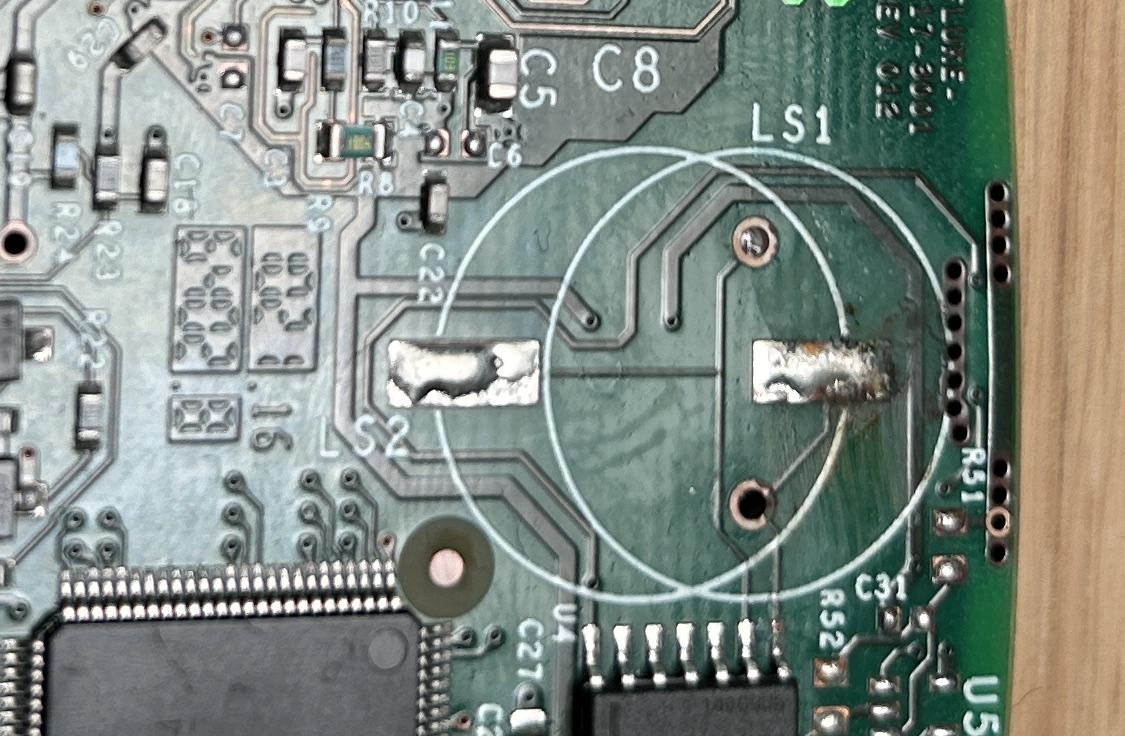
A small bodge wire bridging the broken connection fixed the issue, and the buzzer came back to life. With that, the multimeter was fully repaired - and since then, it has been hard at work helping me repair other electronics.