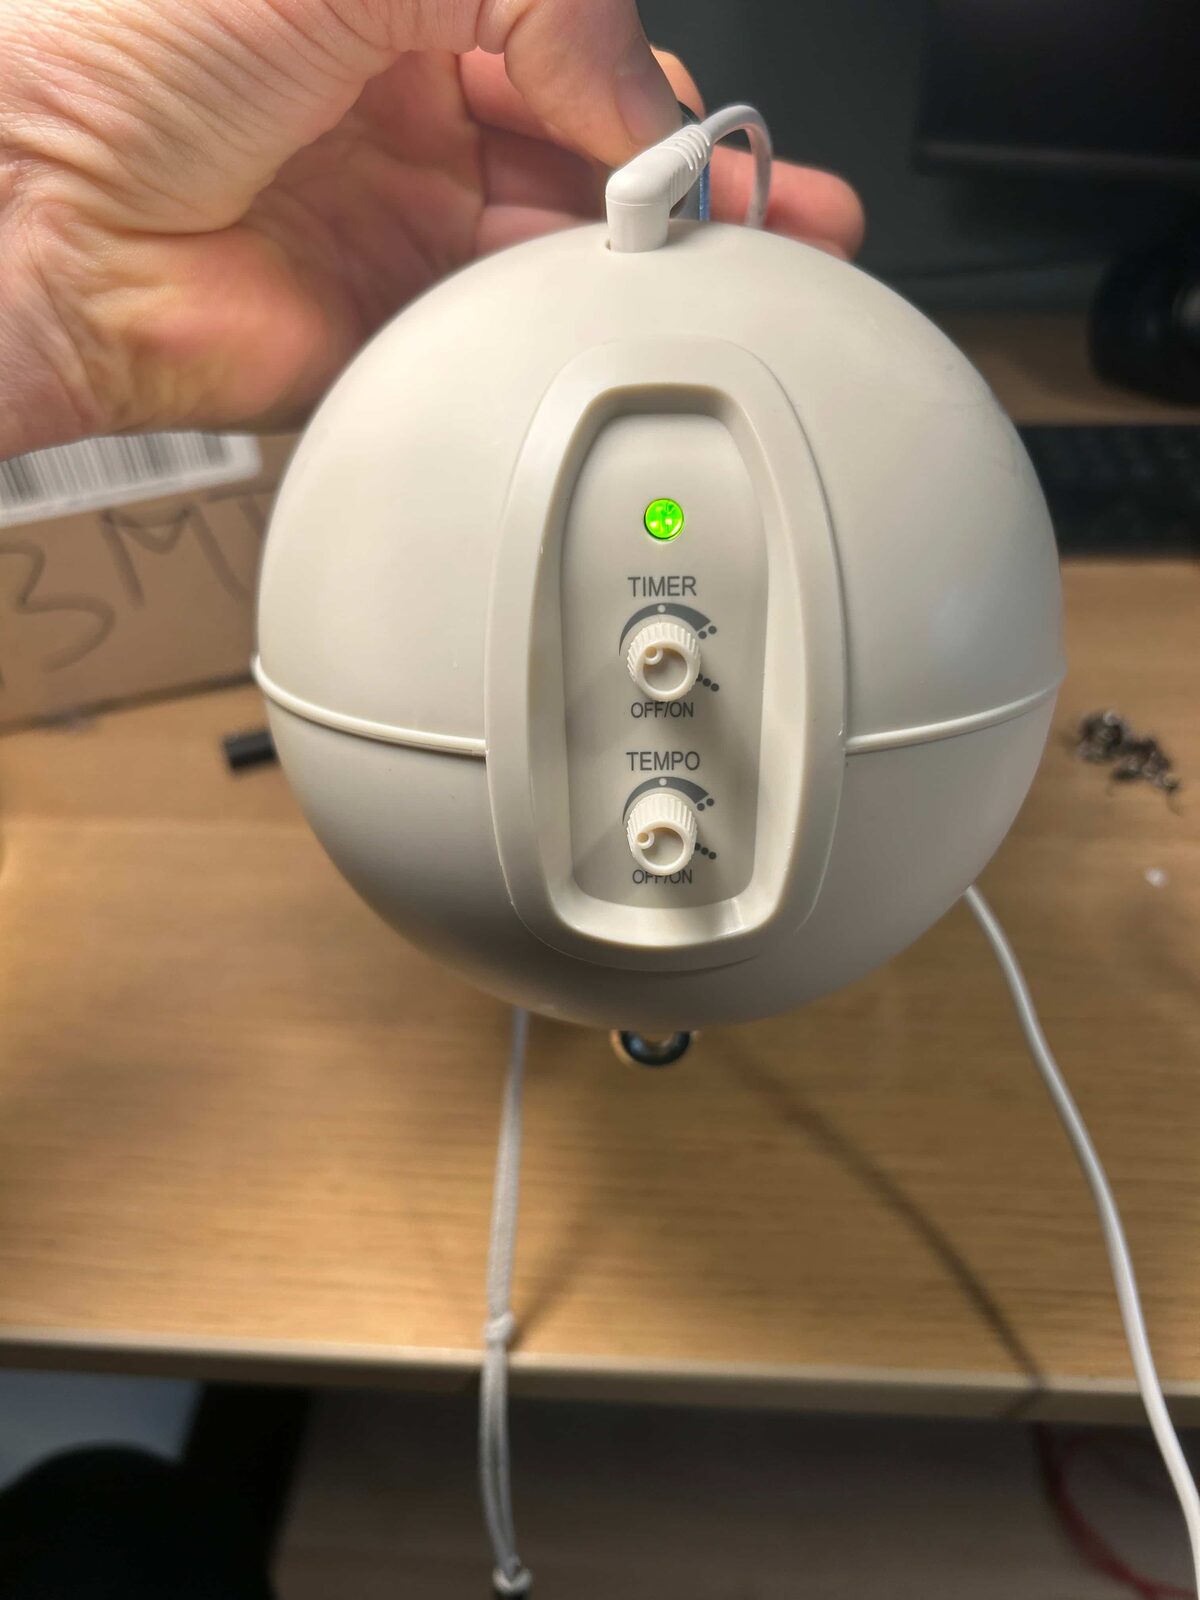
Moonboon Motor Repair
In short: If your Moonboon motor was dropped and the knobs no longer work, the two potentiometers behind the knobs have probably shattered. They are cheap standard parts (
P170S2-QC15BR1K) and can be replaced with basic soldering skills.
My Moonboon baby hammock motor fell to the floor, and the control knobs stopped working. This turned out to be a fairly simple repair. From the way the motor is constructed, I suspect this is a common issue if the unit is dropped. If you have a similar motor and the knobs seem broken, this post is for you.
Before you start
Soldering: This is a relatively simple repair, but it does require some basic soldering skills. If you're not comfortable soldering, you can still do most of the disassembly yourself and order the replacement parts. That way, it's much easier to ask a friend or an electronics repair shop to finish the job.
Sourcing parts: You need two potentiometers, model number P170S2-QC15BR1K. They are inexpensive and available from electronics distributors like DigiKey and Mouser. However, shipping can cost several times more than the parts themselves. Local makerspaces or electronics enthusiasts often place orders from these suppliers, so you might be able to join an existing order to save on shipping.
Tools: Two spoons (or something similar) to pry off the knobs, side cutters, and a soldering iron.
The repair
To open the unit, the potentiometer knobs need to be removed. They are press-fit and can require some force. I used two spoons on either side to lever them off evenly.
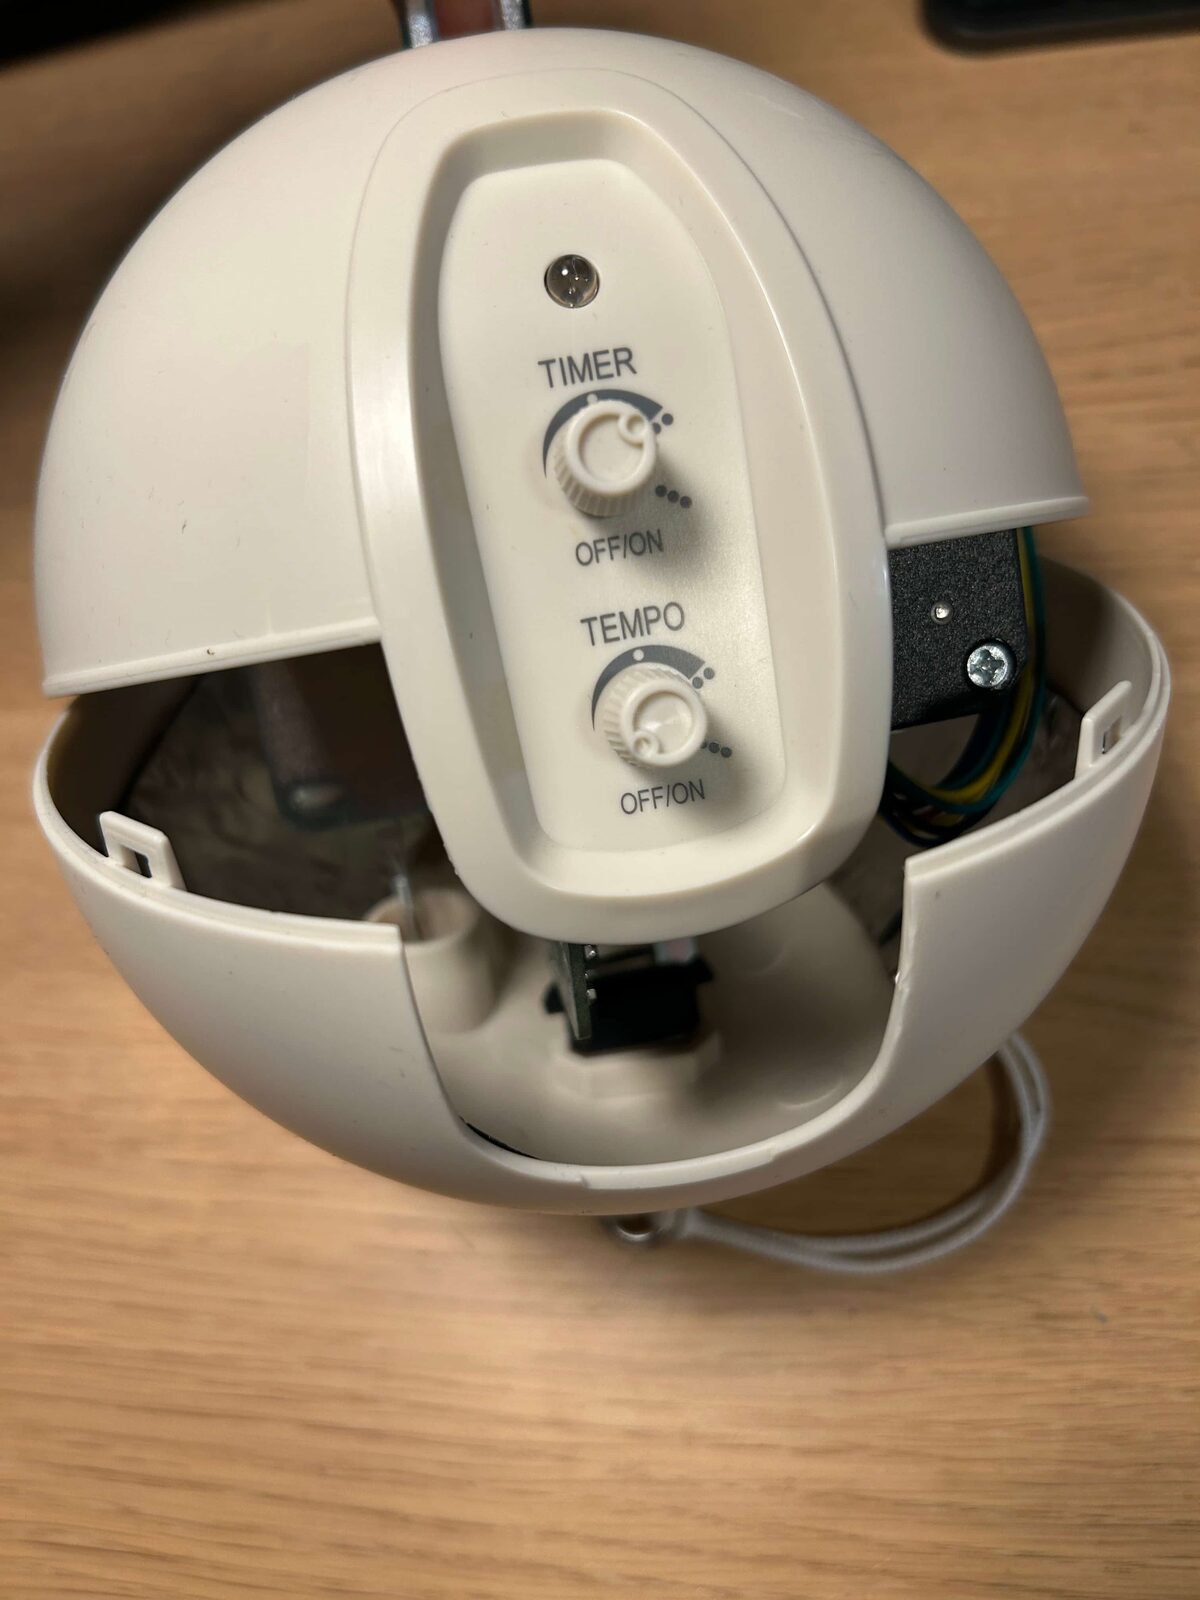
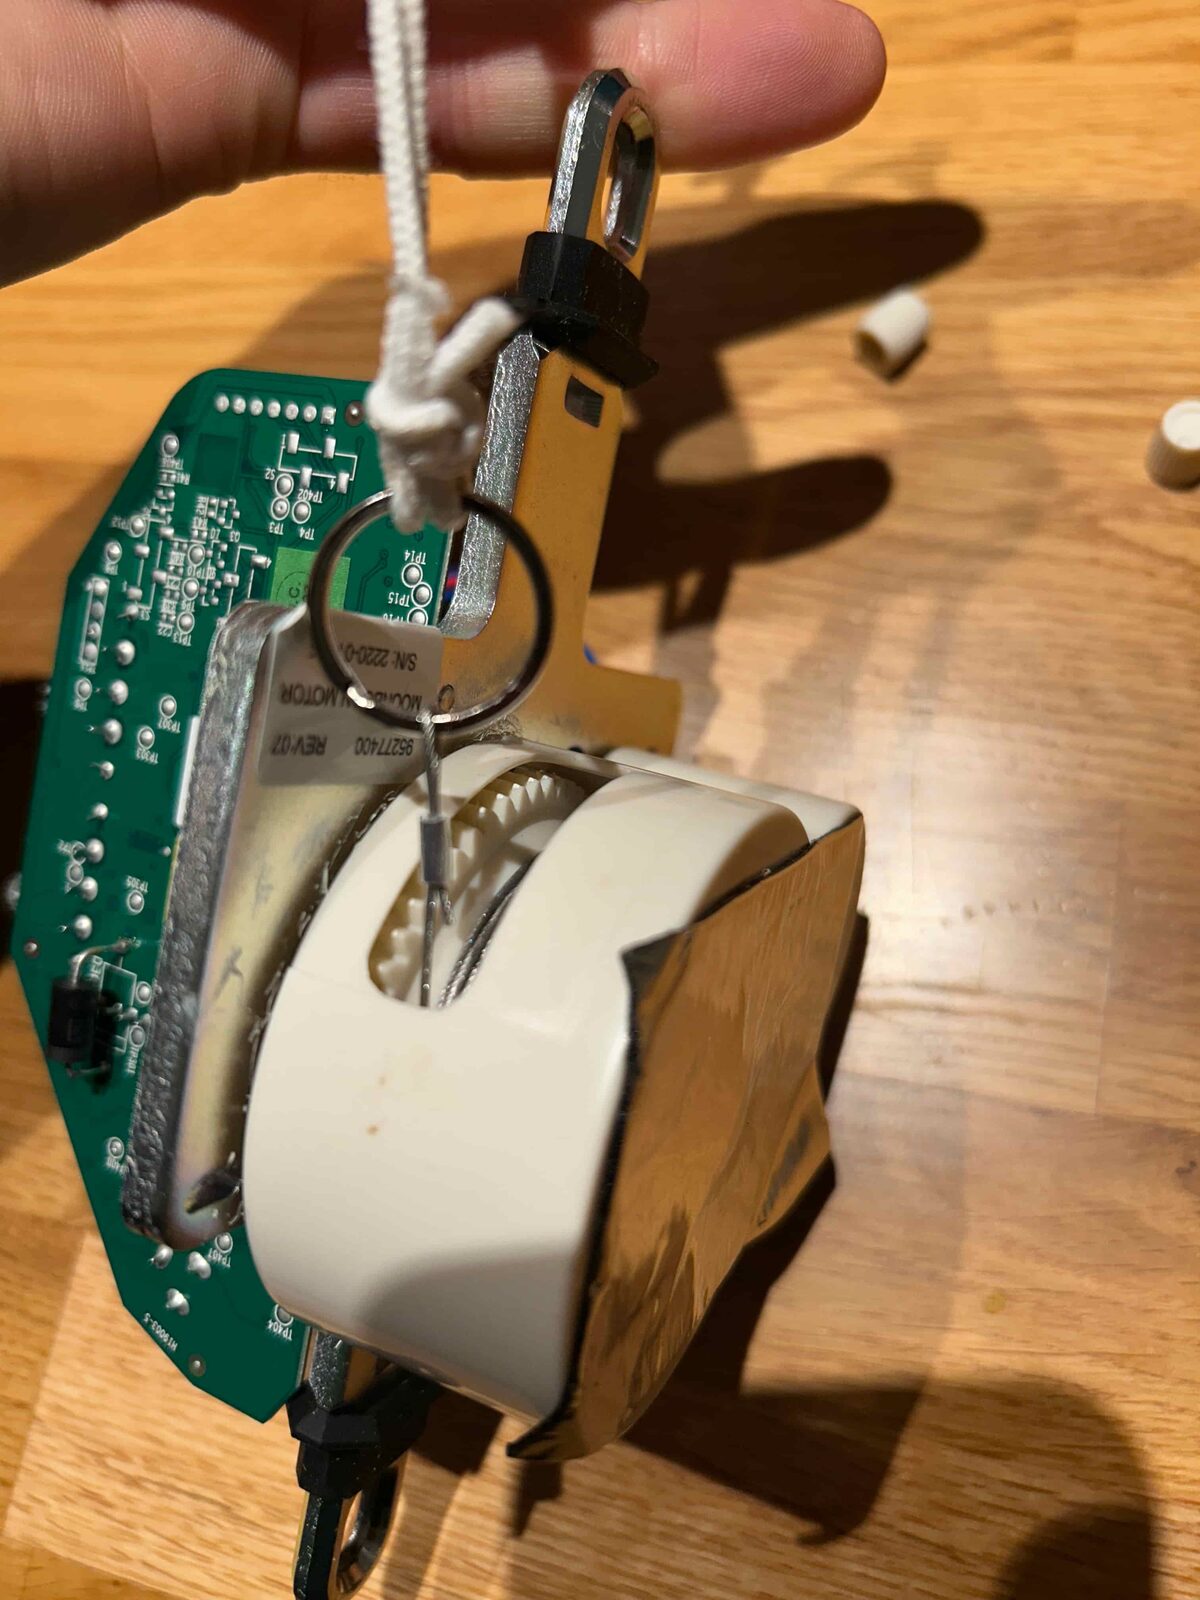
When removing the motor assembly from the shell, you'll need to take off the split ring for the rocking wire. Be careful, as the wire can retract into the motor. I attached the ring again like in the picture below to avoid this.
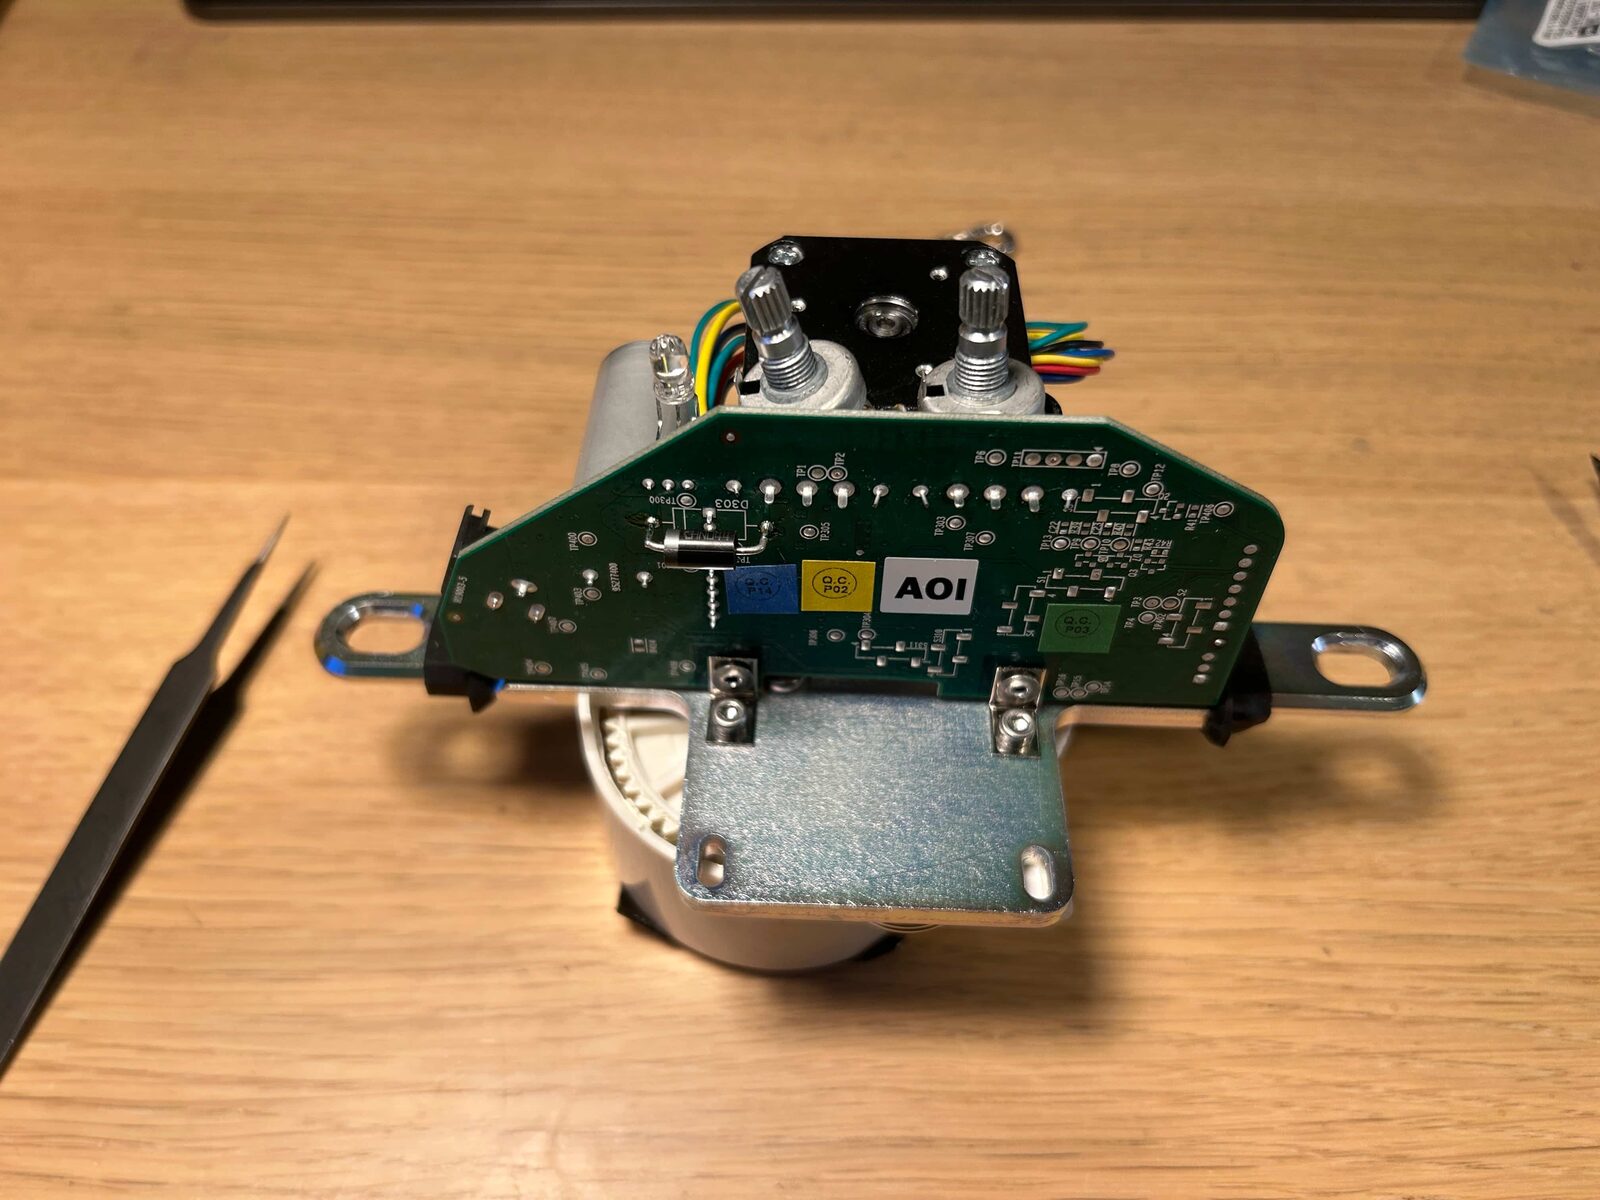
Here you can see the shattered potentiometers. When desoldering, I cut the three middle legs of each potentiometer so I could remove them one at a time.
The wires connected to the side lugs should not be removed from the PCB. Instead, carefully desolder them from the potentiometers, as we'll reuse them.
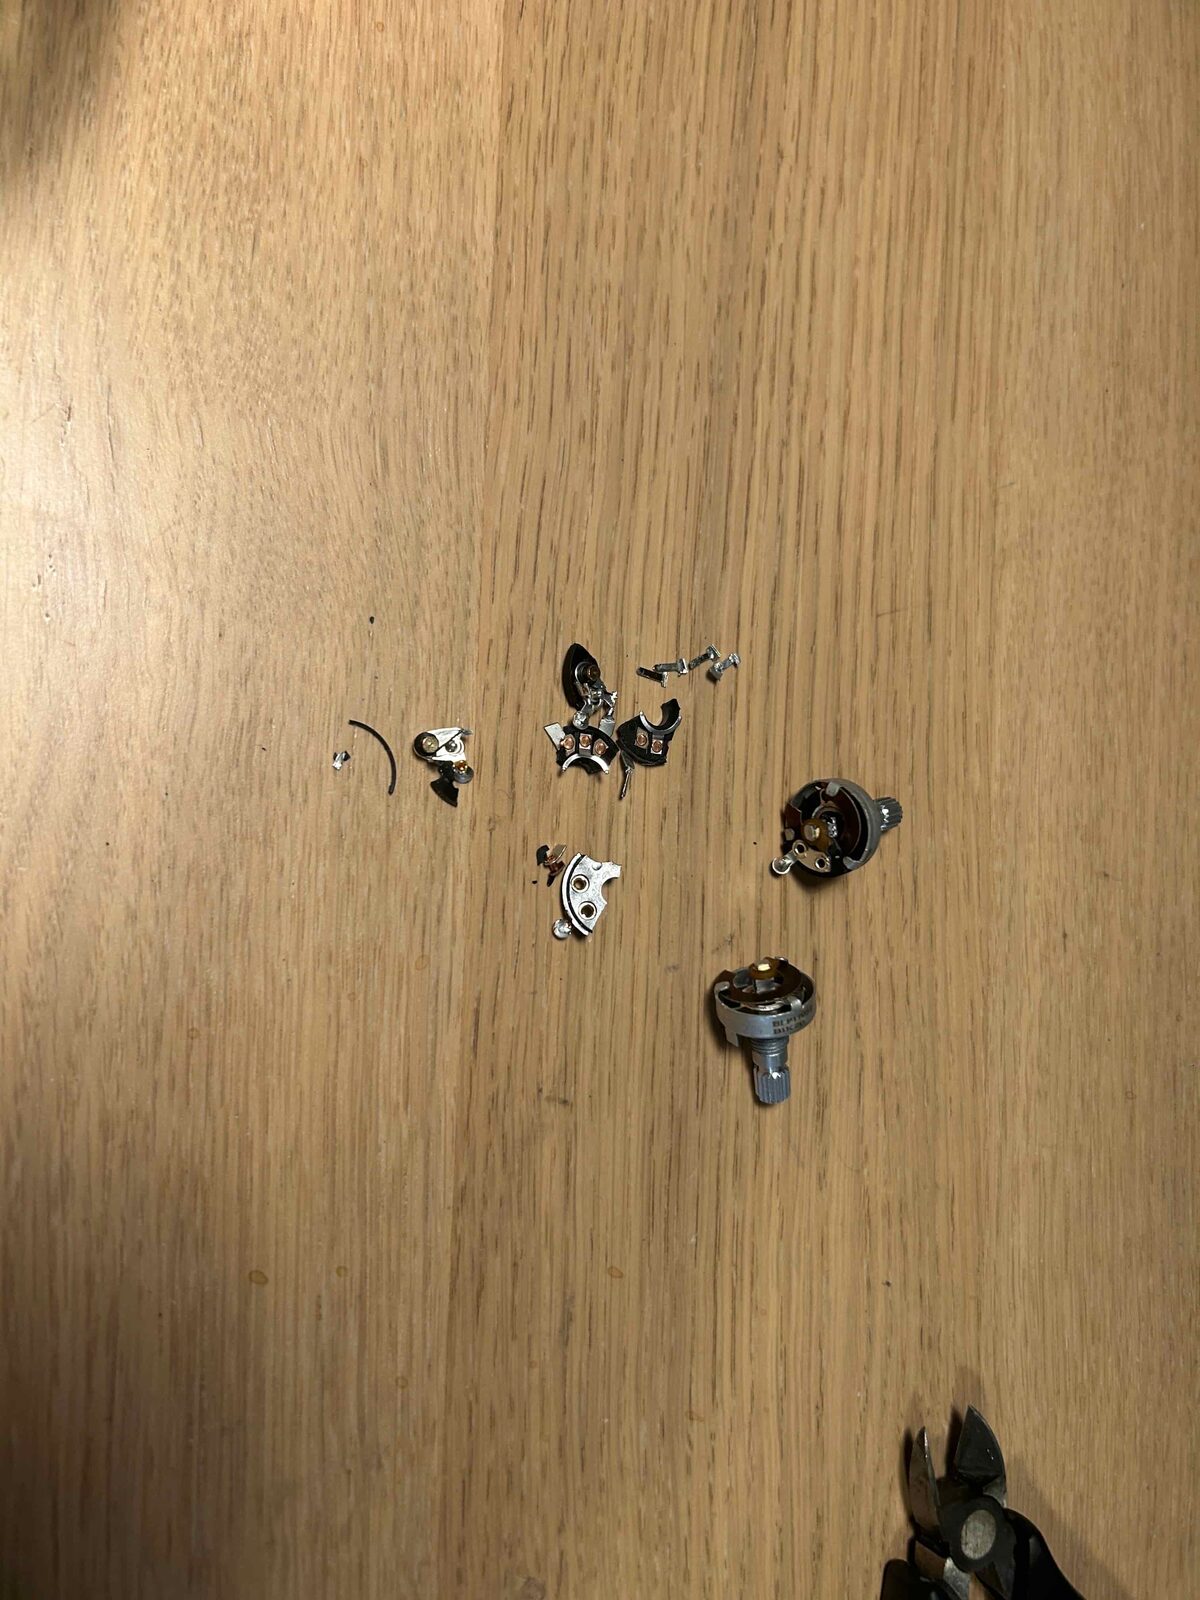
After replacing the potentiometers, reassembly is straightforward. Follow the steps in reverse, and you should have your motor back in working order!